Tutorial #A06 – Coded targets automatic detection
Coded targets
Welcome to the 3DF Zephyr tutorial series.
In the following tutorial, we will learn how to exploit coded targets in 3DF Zephyr.
Workflow
3DF Zephyr’s coded targets are of different types and shapes (see image below).
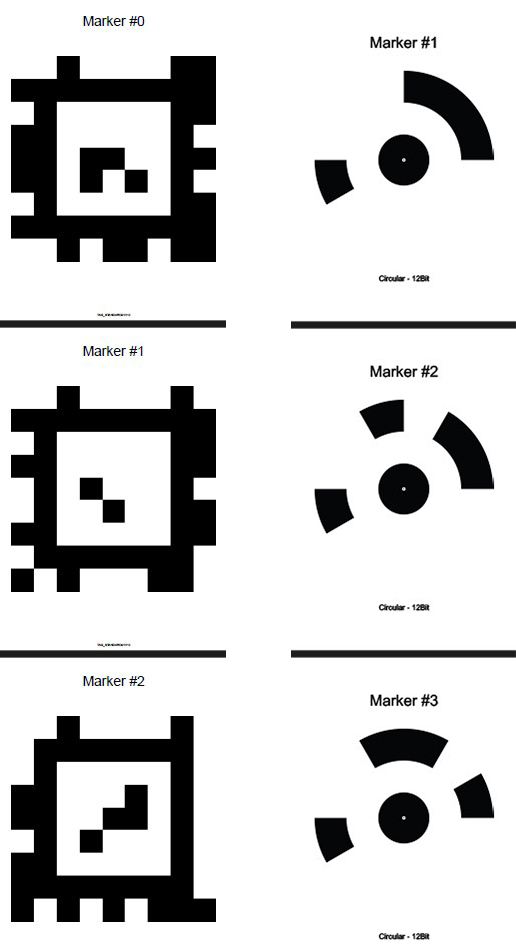
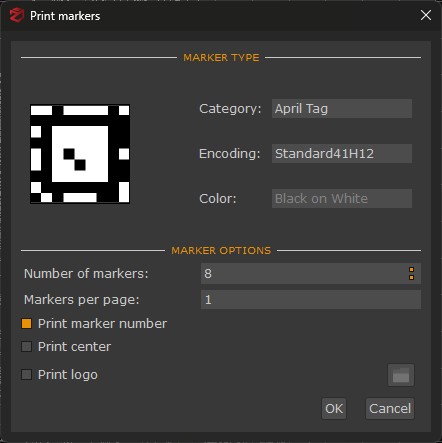
Coded targets can be printed by clicking Tools > Control points > Print Markers. Additional options are available, such as “print logo”, “print (target) center”, and “print marker number”.
3DF Zephyr supports 16 bit coded targets, and the printing size strictly depends on the scene/subject features.
Recommended settings are as follows:
- Close Range and Human Body: 4 targets per sheet (A4 size)
- Urban: 2 targets per sheet (A4 size)
- Aerial: 1 target per sheet (A4 or A3 size)
You can define the number of targets per sheet by editing the printing menu settings on Windows (in that menu, the term “page” refers to a target).
It is recommended NOT to use coded targets randomly; instead, they should be used in their numerical sequence (1, 2, 3, 4, etc., and not 4, 13, 22, etc.).
With 3DF Zephyr, you can also automatically detect standard targets, including square, circular, or custom ones.
Once the image capture is complete and the camera orientation phase is finished, you can start the automatic detection of coded targets by clicking on Tools > Control Points > Detect Markers.
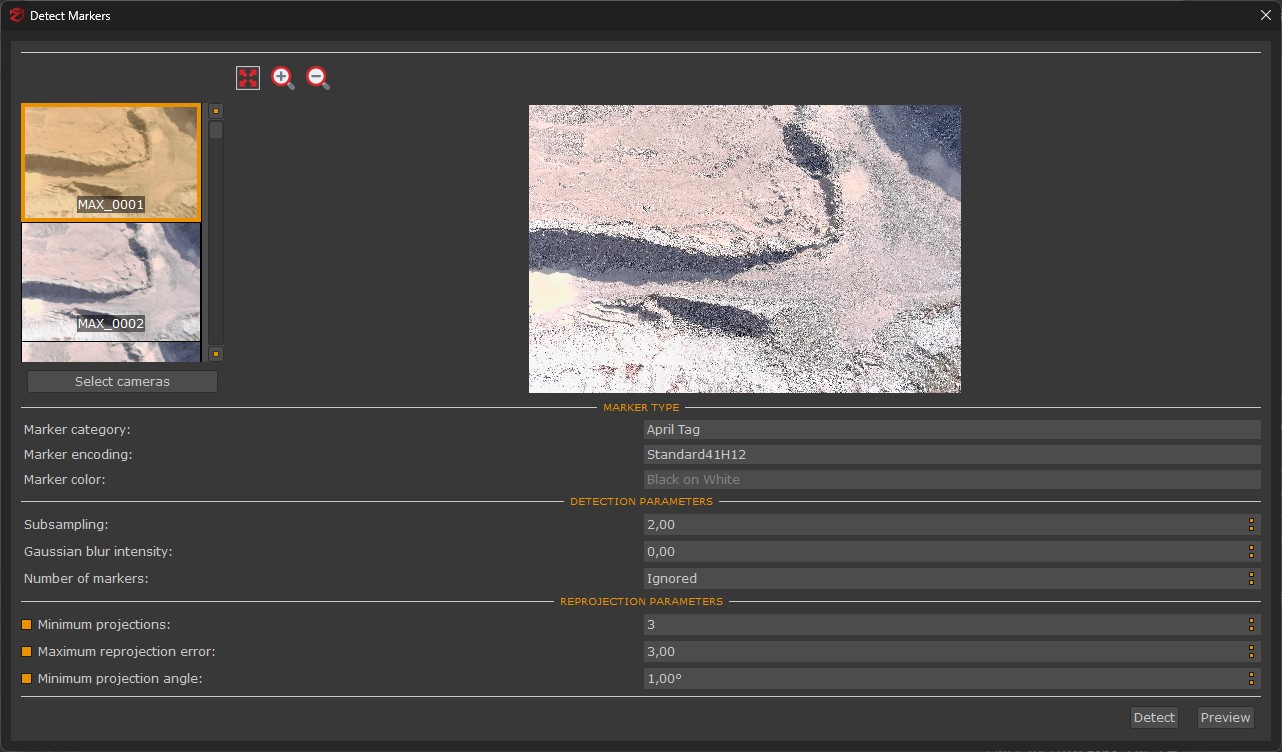
In the new window, you need to specify:
- The marker category, encoding and color: select which markers have been used on-site;
- Subsampling;
- Gaussian blur intensity;
- The number of coded targets within the scene.
After clicking the “Detect” button, 3DF Zephyr will start the automatic target detection and will set the control points based on the detected targets.
NB: Please note that automatic target recognition must be started ONLY after completing the camera orientation phase.
The next tutorial will show how to manage laser scan data and how to color a laser scan point cloud. Click here to proceed to the next tutorial