Case Study – Creation of game assets with 3DF Zephyr
This case study is presented by Ing. Tomáš Búran – 3d artist making models for the Game Industry and for VR medical applications. This article will guide you through his process of generating smaller objects like fruits, vegetables, small statuettes etc. using close range photogrammetry. In this case study, the target is asset generation for videogames using 3DF Zephyr.
Survey
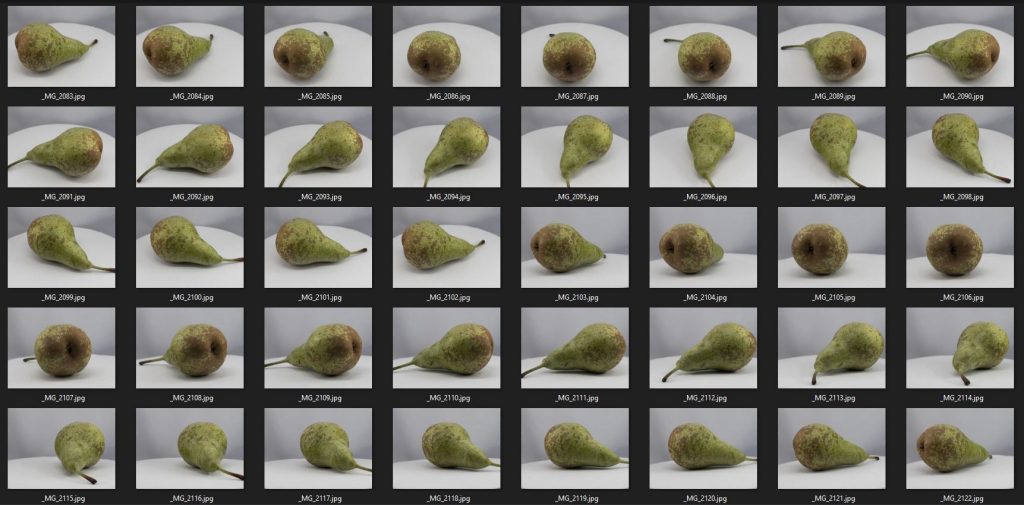
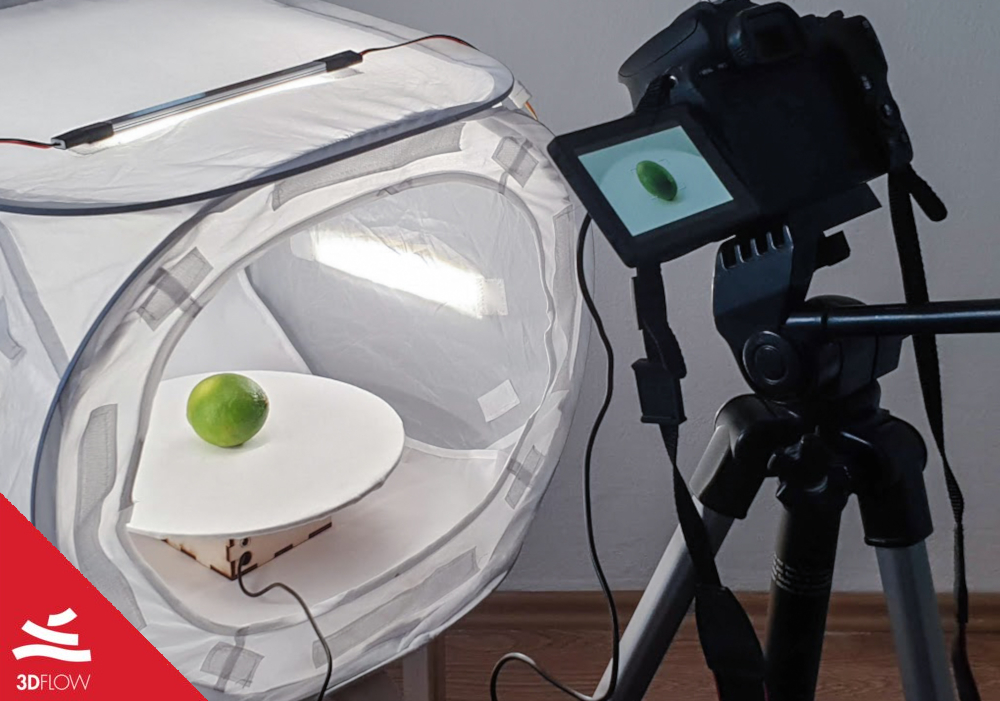
For this purpose 40 photos of a pear were taken using a DLSR camera Canon 200D with 50mm lens, light tent, LED light, tripod, color checker, polarizing filter and 360° rotating platform controlled via Arduino UNO.
Workflow
In this case the photographed object was placed on to 360° rotating platform. Every 18° one photo was taken, so it’s a total of 20 photos per revolution. These photos was taken approximately 60° from the top – first half of the dataset – as shown in the image below and the other half of the dataset was taken straight from the side. The point is to capture the most of the object’s surface.
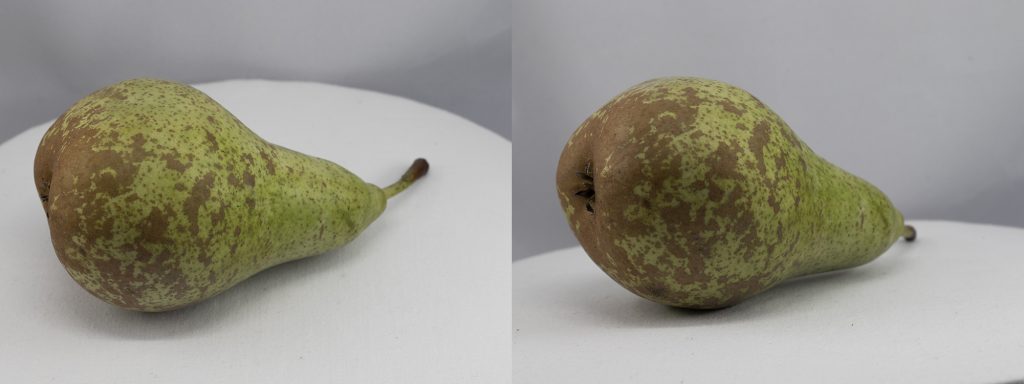
It’s necessary to shoot sharp and clean photos. Avoiding reflections is a big deal as they can ruin the cameras orientation and thus, the creation of the mesh and textures. Using polarizing filters for lenses and appropriate lights can limit reflections and highlights. It is also very important to take pictures of a color checker for color correction and to maintain consistency. The camera was set to 100-200 ISO for noise reduction and 1,8 – 2f (aperture) because strong depth of field is unwanted. The shutter speed was adjusted manually to accordingly to the lighting of the scene.
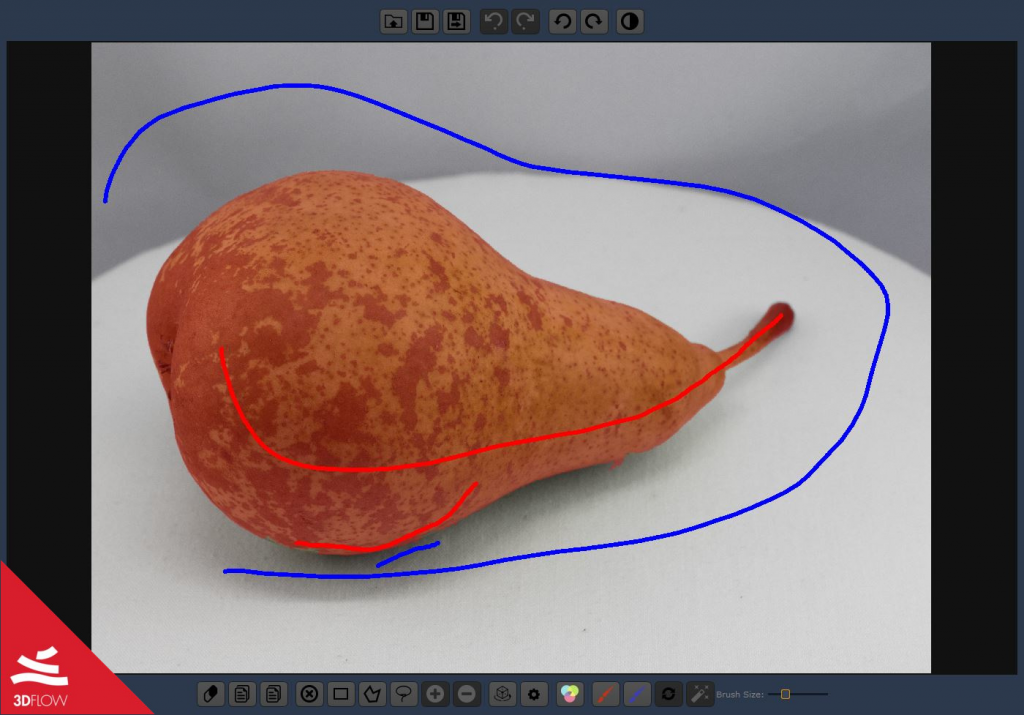
With these settings it will take a relatively long time to shoot a picture and because of that a tripod was used which prevents photo blurring as the camera is still for the whole duration of the photo capture process. Before feeding the images to 3DF Zephyr for the camera orientation stage,the background has been removed semi-automatically using 3DF Masquerade. Additional information on how to leverage Masquerade for turntable setup, please refer to the tutorial at the URL https://www.3dflow.net/technology/documents/3df-zephyr-tutorials/tutorial-12-masking-for-turntable/
After the structure from motion step (Sparse point cloud), the dense point cloud and the mesh were generated.
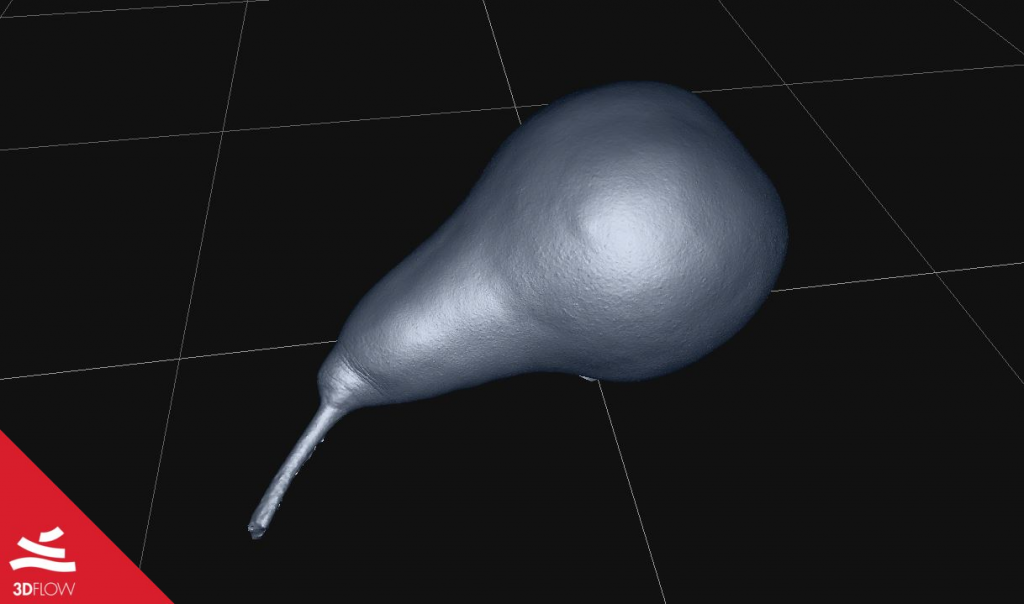
The next step was preparing the asset for the texturing process as the generated geometry was meeting the requirements.
Zbrush was used for Unwrap, cleaning the bottom part of the pear and for the creation of 3D models with various levels of detail (LODs). After that, the model was imported back into 3DF Zephyr for texture creation with a resolution of 8192×8192 pixels – the result can be seen in the screenshot below. The texture was exported in tiff format to avoid losing details due to compression. In games PBR textures (physically based rendering) are commonly used for different workflows that can be easily done in Allegorithmic Substance Painter software, while the texture generated from 3DF Zephyr was used as BaseColor/Albedo.
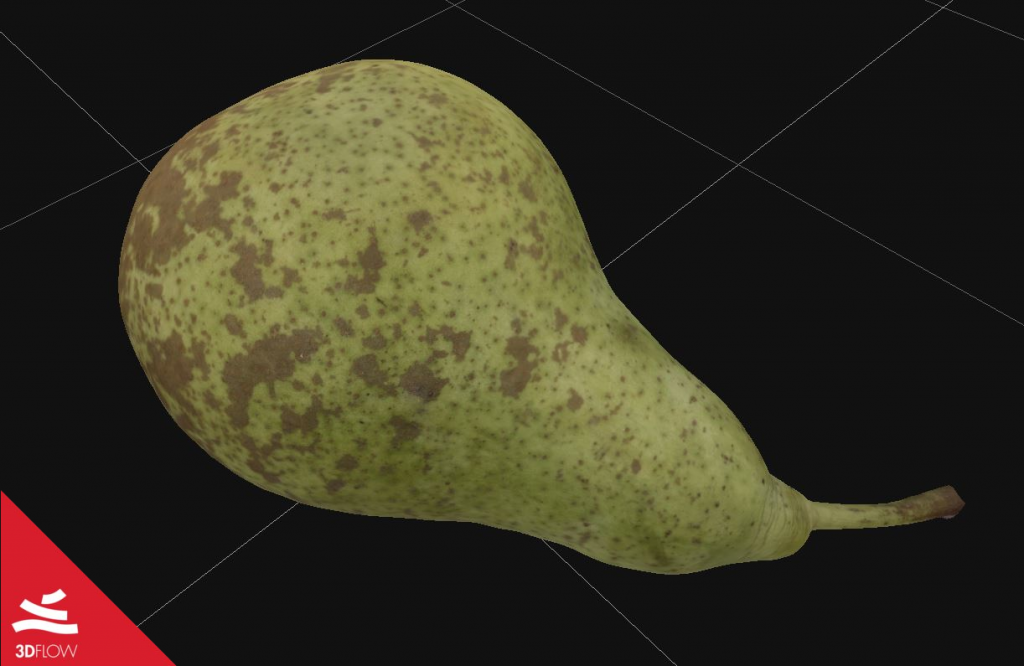
Final result
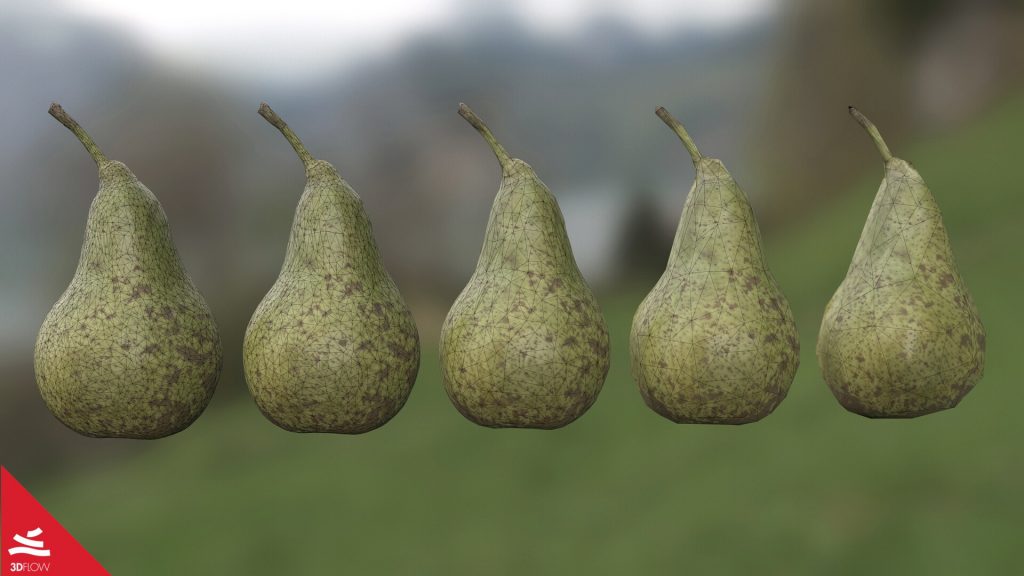
This workflow saves time and the final results have realistic looks, which is difficult and sometimes impossible to achieve by other methods of creating game assets. 3DF Zephyr is the heart of the process, and in the video game industry the option to have the same asset with different level of details is a must-have for AAA studios as well as for smaller studios. With 3DF Zephyr, it is possible to empower and automate the generation process for both small objects as well as larger areas. Below, you can see the final result with overlayed the wireframe that composes each of the different LoD mesh generated.
