First of all,thank you for your time reading this.
Im a newbie...so im pretty sure this question has been answered 100 times already but for the life of me i cant find the answer to it...
now that thats outta the way...
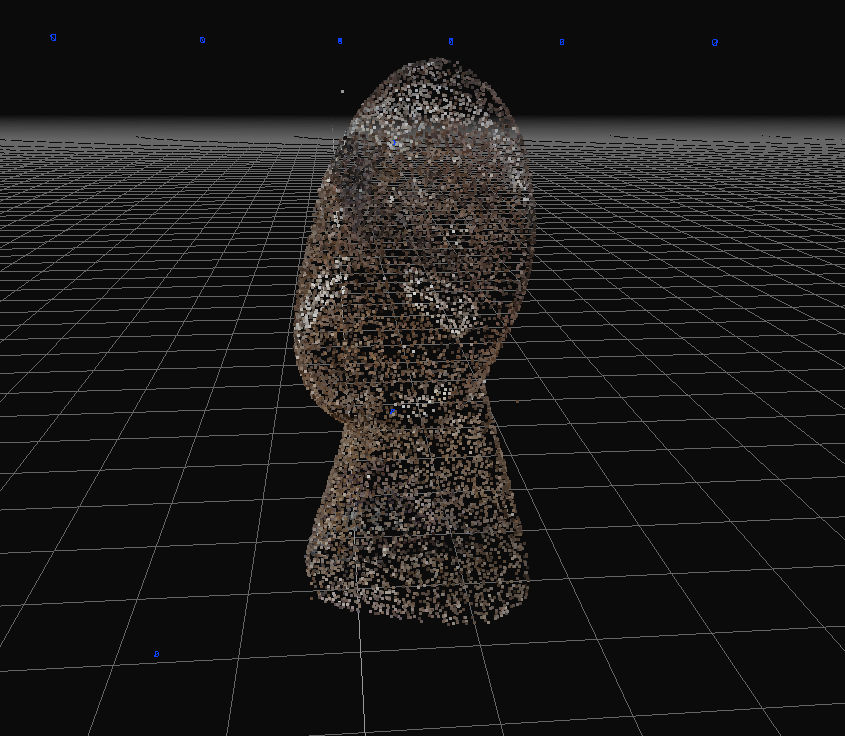
im trying to create a model of a small rock.I have added 280 pics taken from a video.Now,the video was shot from above and around the object,and the underside was shot by turning the object bottom up.
I can see the program detects all camera angles as being from above and around,but not bellow the objects underside.
Hence my problem.The program uses the added bottom side pics but just adds them to the existing mesh without knowing they are supposed to go on the underside.
How do you get around this? cause the only way i can think of is to shoot it from below whille its sitting on a glass surface or something.
bare in mind i havent had any problems with the backgrounds.I use a turntable with a sheet of text stuck to it and it seems to be working fine.Ihavent had too much trouble removing unwanted points from the mesh.Seems to me ive done a pretty good job removing them manualy,at least on this simple subject,but the underside is really getting me stuck.
I understand this is a stupid question....so...go easy on me please...
again,thanks for your time.

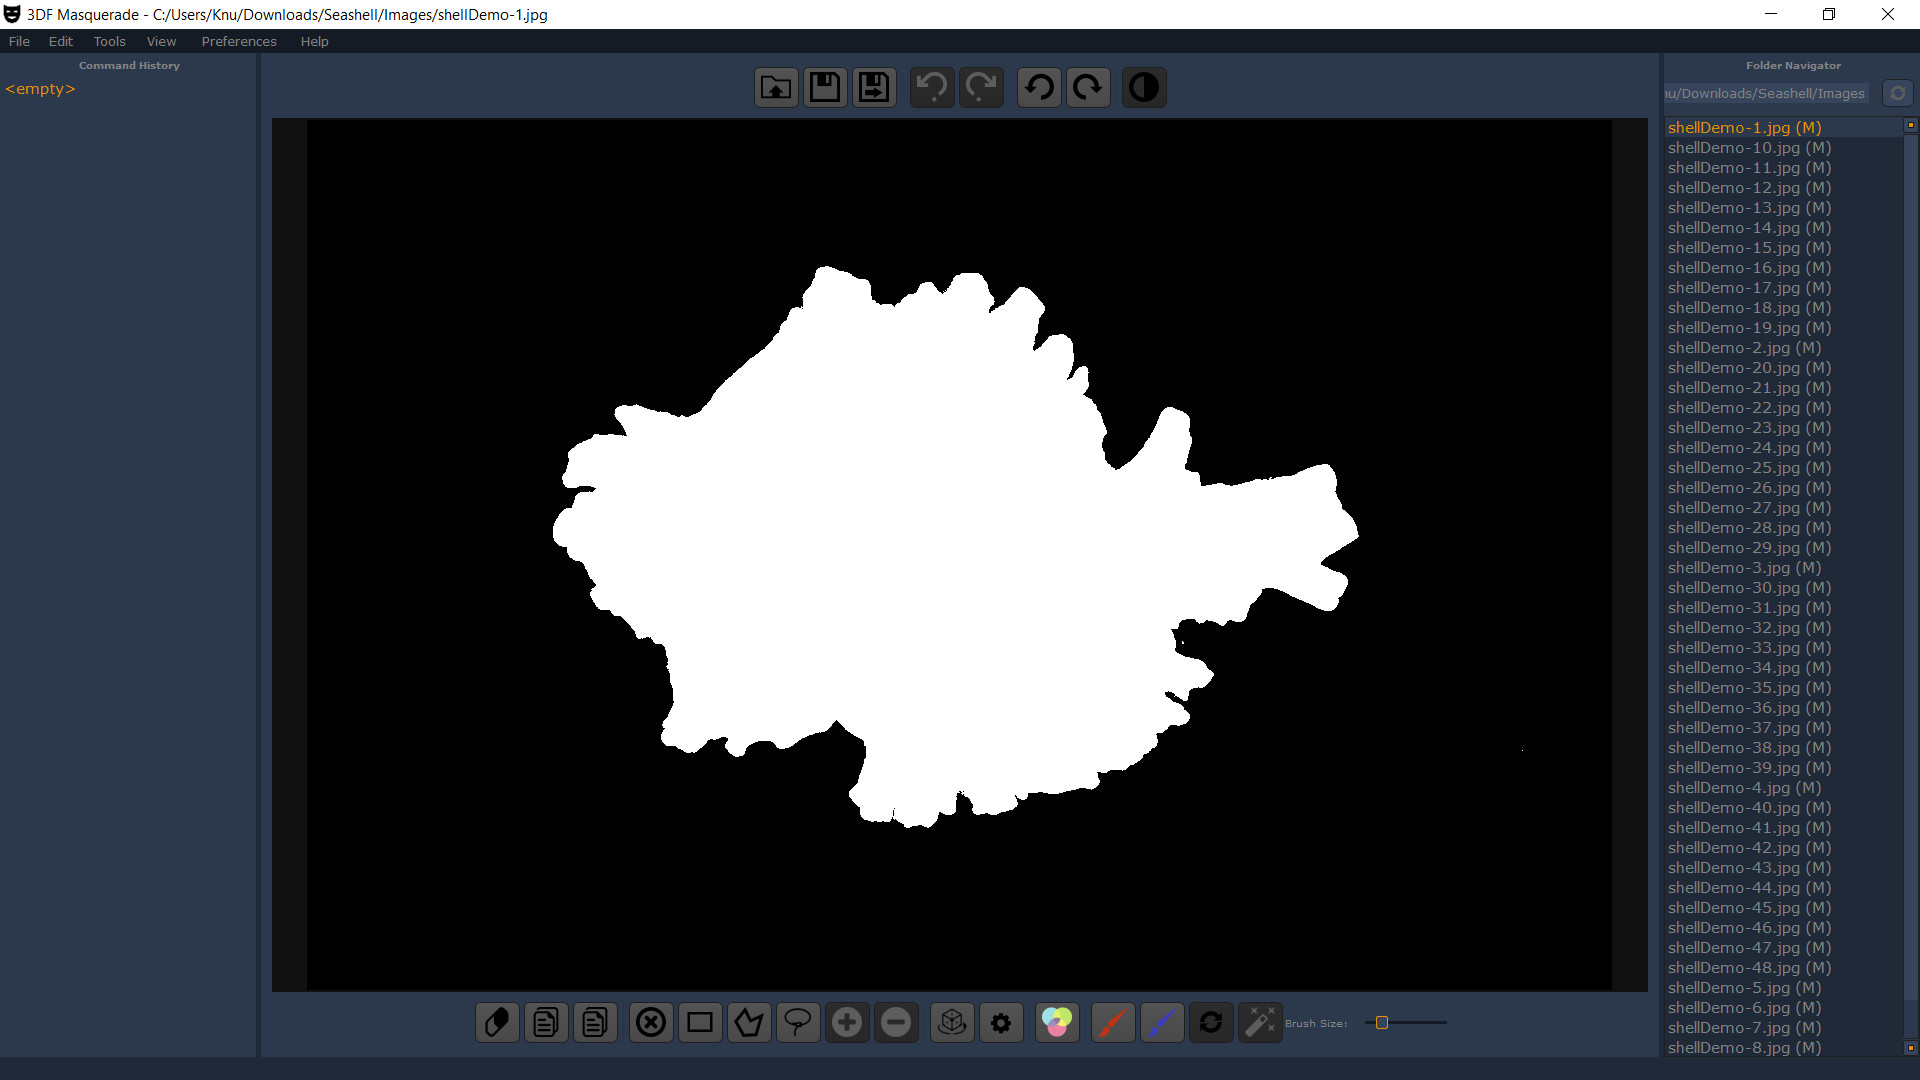
 ) but won't take long especially if you have a featurless background - you can use the red/blue strokes for a quick way to remove backgrounds on all your images. This has the added benefit of effectively ignoring parts of the images, so the processing will also be faster.

Comment