Optimizing Thin Meshes
Welcome to the 3DF Zephyr tutorial series.
In this recipe, you will learn how to optimize the 3DF Zephyr settings for difficult subject with a thin geometry, such as leaves and other similar surfaces.
Introduction
Depending on the 3DF Zephyr you are using, you may experience different default results. For the best experience, we strongly suggest always using the latest 3DF Zephyr build available.
The Thickness parameter
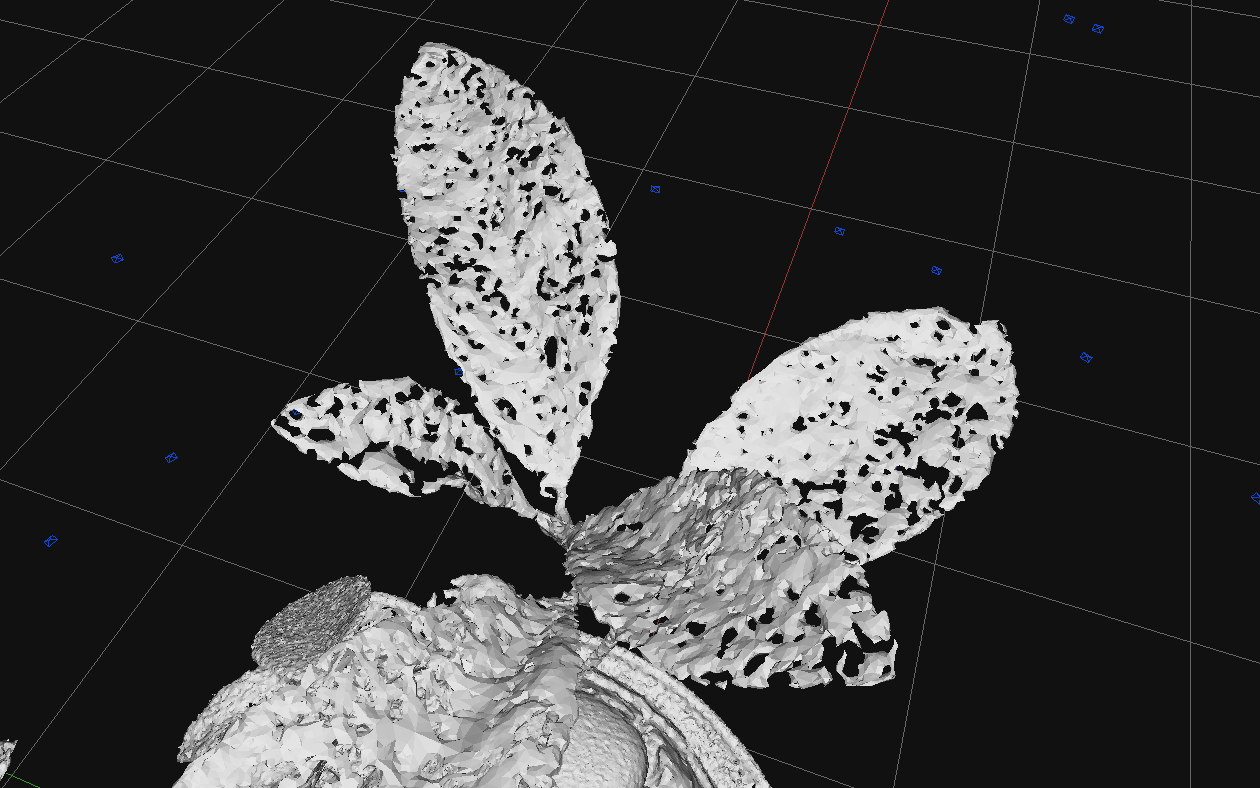
Not everybody knows that there is a specific parameter that can control the thickness of the reconstructed geometry in 3DF Zephyr. Granted, 3DF Zephyr will generally do everything it can automatically, but it can happen from time to time (depending on the subject and the photos that are fed to Zephyr) that the results are problematic.
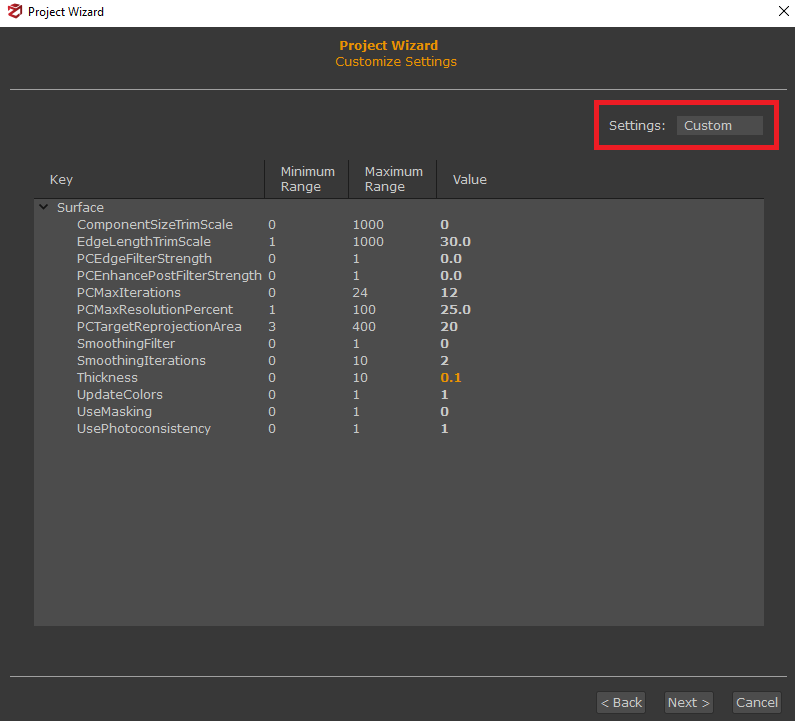
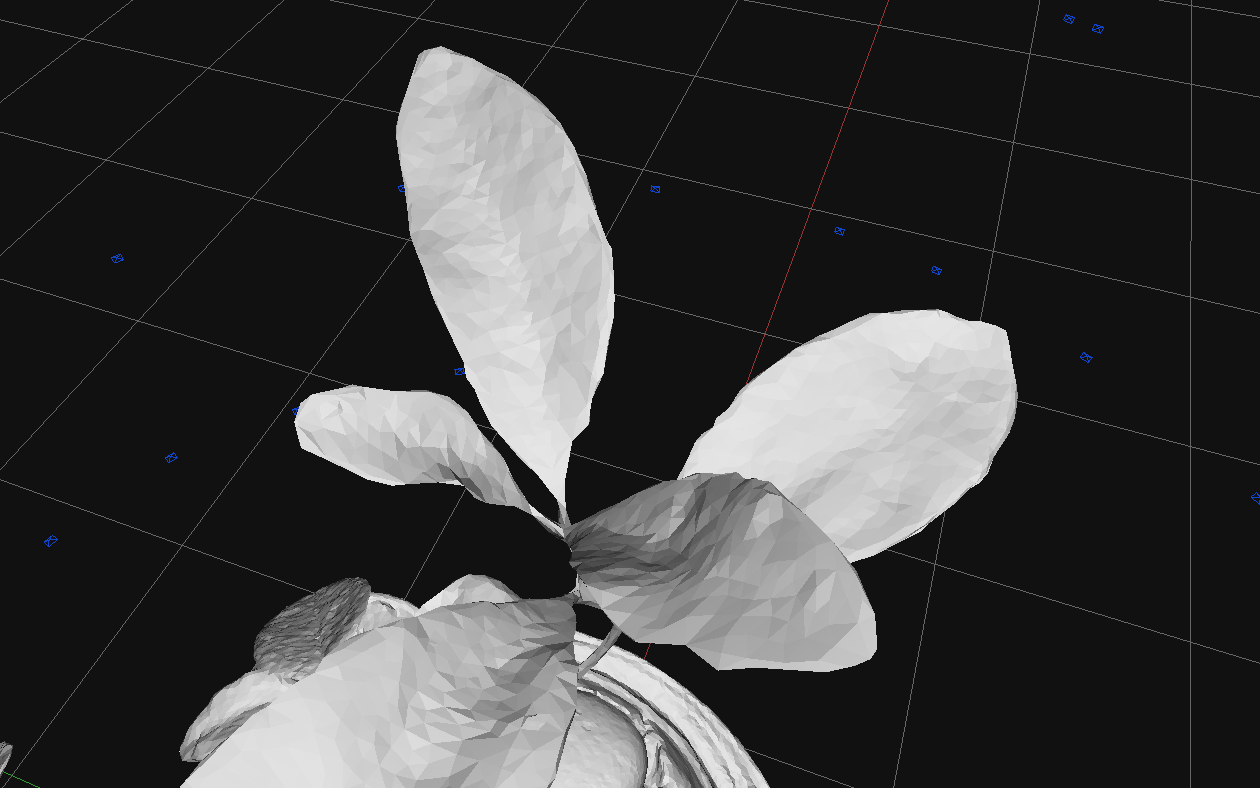
In order to fix such (rare) occurrence, we can adjust the thickness value: increasing thickness will close more holes in thin surfaces, although it can lead to details being “fused” together. Incraease the thickness value (warning: in 3DF Zephyr 7.0 this value is in the Custom category rather than the Advanced category) to fill more holes, like shown below.

In this example, we have raised this value from 0 to 0.1 – you can see a dramatic difference already in the screenshot below: if you are suffering from the same issue, consider raising this value to improve results.


