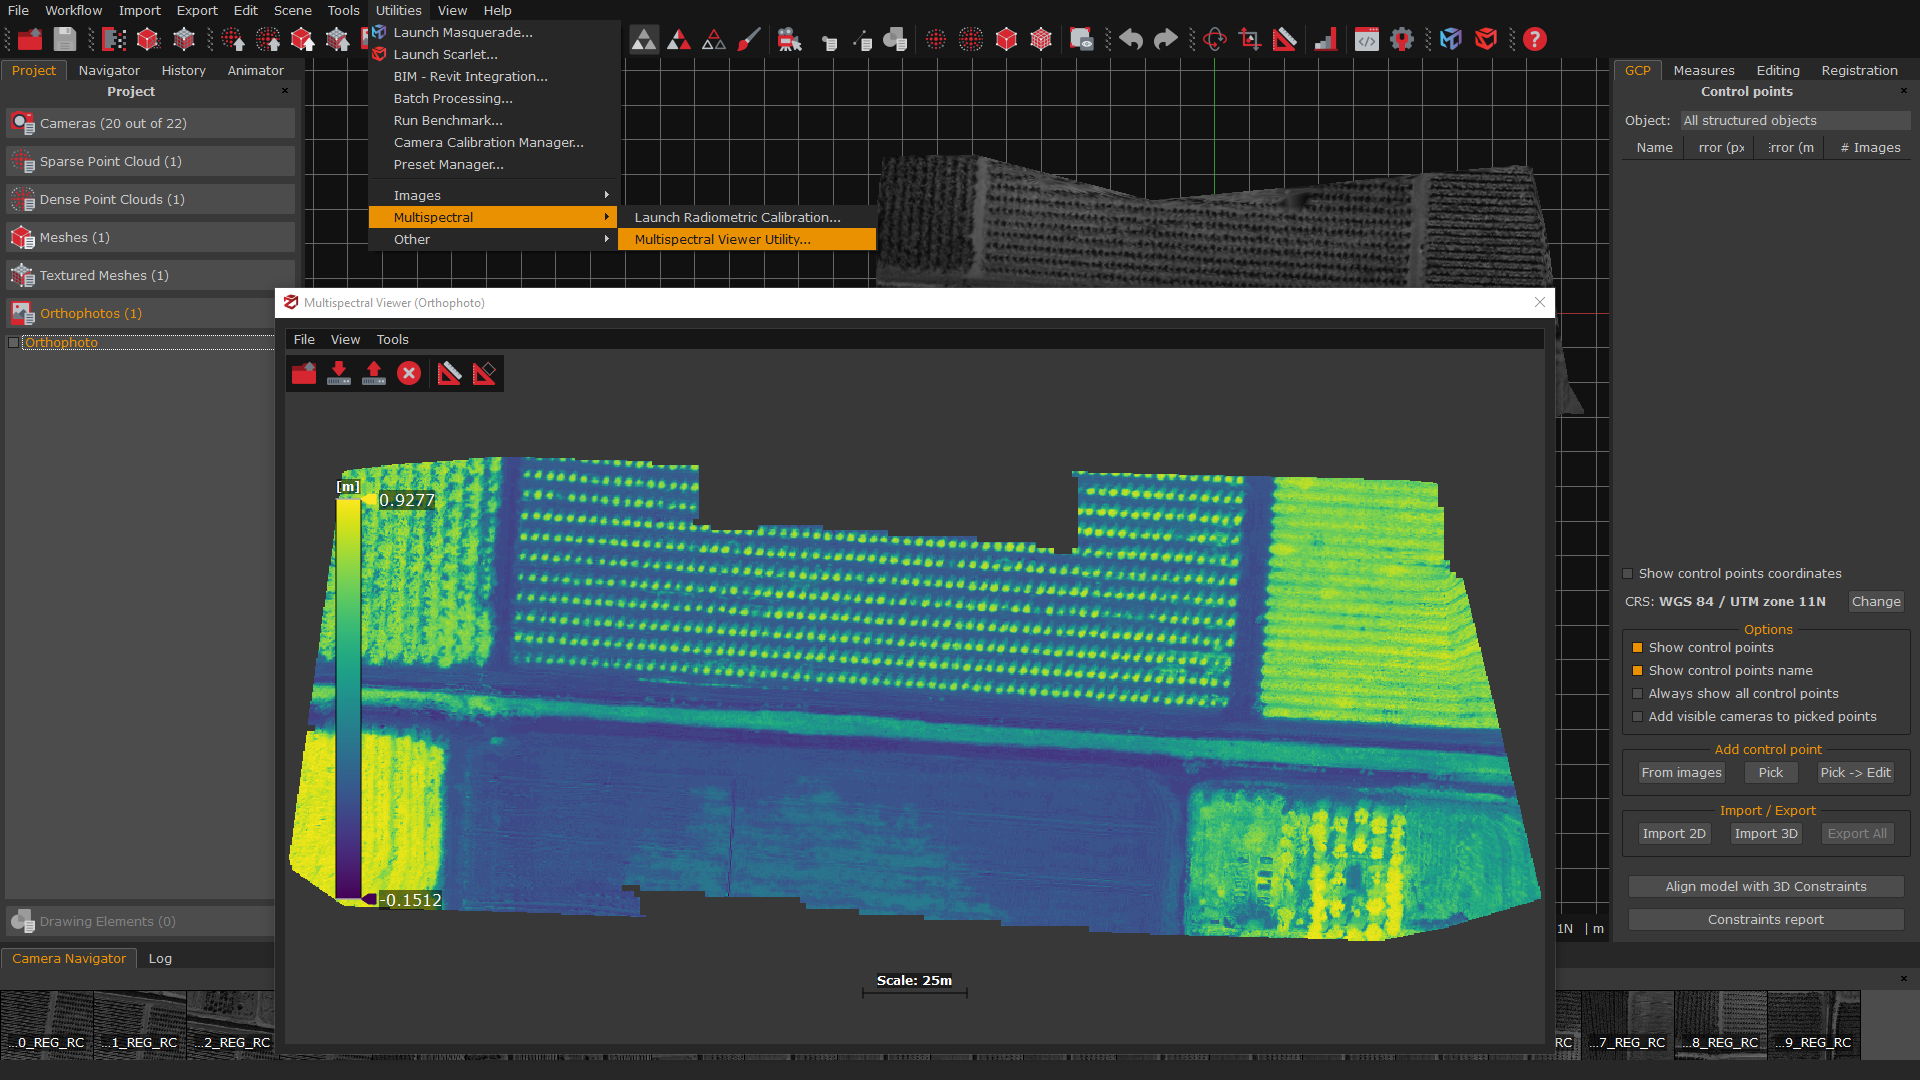
Multispectral Viewer
Similarly to the DEM viewer, the Multispectral Viewer allows to view TIFF files and make measurements over multispectral images.
The viewer can be opened from the menu Utilities > Multispectral > Multispectral viewer utility.
Note: the Multispectral viewer utility can be open directly from the Project tab and right-clicking on the multi-band orthophoto.
In The File menu, you can use the following options to load the images in the viewer:
Open from files option: allow to load tag images in .tif format. This command is useful to open and check even those files that are not necessarily related to the project you are working on.
Open from workspace option: it loads the multi-band orthophoto previously saved in the current project.
Export color images option: it allows exporting multi-band orthophoto to one of the following image formats: .png, .jpg, .bmp.
In the View menu it’s possible to set different color options for visualizing the orthophoto and it’s bands:
Band option: it allows to change the orthophoto’s bands visualized in the viewer.
Colormap option: it allow to set the orthophoto’s colormap in the viewer. The default colormap is viridis, but it can be changed by clicking on it. The Invert option will invert the colors and with Set color map levels a different numbers of level can be inserted.
The Tools menu offers the possibility to make measurements on the multiband orthophoto:
The Enable distance tool: it allows you to define and measure distances.
The Enable area tool: it allows you to place (at least) 3 points and calculate an area.
The Color bar on the left side of the viewer allows you to set the elevation range thanks to the minimum and maximum elevation thresholds.